
How to Clean and Maintain Your Washing Machine
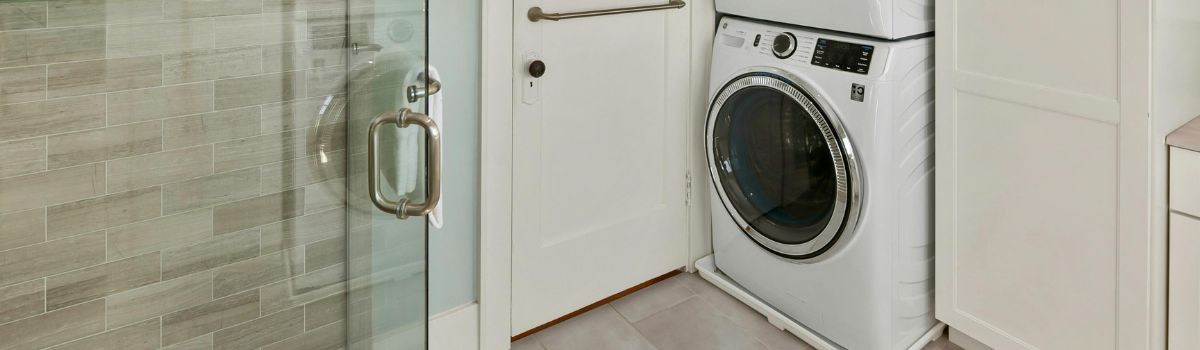
Keep Your Washing Machine Fresh: Easy Cleaning & Maintenance Tips
Your washing machine works hard. It takes care of sweaty gym clothes, muddy socks, mystery-stained towels and it doesn’t ask for much in return. But like anything mechanical, a little upkeep goes a long way. Neglect it, and you’ll start noticing things: funky smells, soap scum buildup, broken washing machine hoses, or worse, a machine that suddenly refuses to drain.
Here’s the good news: keeping your washer clean doesn’t require anything fancy. No special tools, no expensive cleaners. Just a bit of time and some stuff you probably already have at home. Whether your washer is fresh out of the box or a decade-old workhorse, regular cleaning keeps it efficient, odor-free, and running like it should.
In this guide, we’ll break it down what to clean, how to clean it, and how often to get it done. It’s simple. It’s quick. And your laundry (and wallet) will thank you for it.
Basic Cleaning: The Main Areas to Focus On
Your washer handles the dirtiest jobs, so it deserves a little love in return. With just a bit of routine care (no special tools, no fuss), you can keep it running efficiently and smelling fresh.
The Drum
This is where the magic and the buildup happen.
Monthly Deep Clean:
- Run a long, hot wash cycle (no clothes).
- Add 2 cups of white vinegar directly into the drum.
- Optionally, sprinkle 1/4 cup of baking soda into the drum or detergent tray.
After Regular Washes:
- Leave the door open to prevent mildew.
- Wipe the inside of the drum with a dry cloth to discourage musty odors.
The Detergent Drawer
It’s easy to forget but yes, it gets gross in there.
Every Few Weeks:
- Slide out the drawer (usually it pops out with a firm tug).
- Soak in warm, soapy water.
- Scrub away hardened detergent or mold buildup (don’t skip corners!).
- Wipe down the inside slot where the drawer goes.
The Door Seal (Front-Load Washers)
This rubber gasket collects more than just moisture, think coins, lint, and mold.
Weekly Maintenance:
- Gently pull back the rubber seal.
- Use a cloth and a mild cleaner (or vinegar-water mix) to wipe around and underneath.
- Dry the area thoroughly to prevent mold growth.
Tip: Don’t leave damp laundry sitting too long, this area is mold-prone.
The Filter
A hidden hero of your washer that helps it drain and stay odor-free.
Every 2 to 3 Months:
- Locate the filter (usually bottom front check your user manual).
- Lay down a towel (some water may leak out).
- Remove debris: pet hair, lint, lost items.
- Rinse the filter under warm water before reinstalling.
The Exterior
A quick wipe can make your washer look as fresh as it works.
Quick Clean:
- Wipe top, knobs, buttons, and around the lid/lid seal with a damp cloth.
- Remove gunky detergent spills near the drawer.
Takes less than a minute but saves lots of sticky surprises.
Deep Cleaning: Monthly Routine
Let’s be honest your washing machine isn’t self-cleaning, no matter how good it is at washing clothes. Once a month, it needs some love to clear out the grime that slowly builds up from detergent, dirt, and hard water. Here’s the straightforward plan:
Start with two cups of white vinegar straight into the drum. Just pour it in no need to be precise. Set your washer to its hottest, longest wash cycle and run it empty. The vinegar acts like a natural disinfectant, breaking down mineral deposits, mold, and whatever else is lurking in unseen corners.
Once that rinse finishes, drop half a cup of baking soda into the detergent tray and hit it with another hot cycle. The baking soda scrubs away musty smells, neutralizes acids, and freshens the whole interior. This combo works like a one-two punch: vinegar loosens gunk; baking soda scrubs it out.
When it’s done, resist the urge to close everything up. Leave the door open. Crack the detergent drawer. Let the moisture breathe out instead of turning into mildew.
Simple steps, big payoff. Do this monthly, and your machine will stay fresh, efficient, and a whole lot less funky.
Keeping It Fresh Day-to-Day
Most problems start when little things get ignored. Keeping your machine fresh doesn’t have to be a whole event; it’s more about quick, consistent habits.
Start with the basics: leave the door or lid open after every load. Seriously, every time. A closed, damp washer is basically a mold hotel. Let the air do its thing and dry it out.
Use less detergent than you think you need. Detergent builds up over time, making your machine smell and work harder than it needs to. If you see suds long after the rinse cycle, that’s a hint you’re using too much.
Skip the liquid fabric softeners if you can. They leave behind a waxy coating that gums up your drum and hoses. If you still like some softness, dryer sheets are a cleaner play.
Finally, give visible spots a quick wipe once a week door rim, knobs, drawer face. It’s not glamorous, but staying on top of grime is a lot easier than digging out mold after the fact.
Common Issues and How to Handle Them
Smells
If your washer smells like a locker room, you’re not imagining it. It’s probably due to leftover detergent gunk, trapped moisture in the drum, or forgotten socks stuck under the gasket. First step? Clean the door seal and detergent drawer, those are stink magnets. Once a month, run a hot wash with vinegar to scrub out lingering bacteria and mold. Still smelly? Check the drain filter. Junk collects there more than you’d think.
Mold and Mildew
Black spots around the rubber gasket? That’s mold. It thrives in the damp, dark corners of your washer especially if you close the door right after a wash. Wipe seals dry after each use. If mold’s already there, scrub with diluted bleach or a mold remover and wear gloves. And remember: drawer open, door open. Let it all air out.
Lint and Small Debris
Lint, coins, and bobby pins: the sworn enemies of your washer’s filter. When the filter clogs, drainage slows, smells build up, and your wash cycle suffers. The fix is simple. Pop open the filter panel (bottom corner in most machines), catch any water with a towel or shallow tray, and pull out the junk. If you hear rattling during a spin cycle or water’s pooling where it shouldn’t, your filter’s overdue for a cleanup. Check it every couple of months, it makes a difference.
Things That Make a Difference
Let’s knock down a few easy wins that most people skip but make a big difference over time.
First: don’t toss the manual. Seriously. It’s not just fluff, it has specific cleaning advice for your model, including how to access parts like the filter or where hidden buildup might happen. If you tossed it already, look it up online. Most brands have PDFs on their websites.
Next, use the right kind of detergent. If you’ve got a high-efficiency (HE) machine, always stick with HE detergent. Standard detergents make too many suds, and over time, that gunk clogs up your machine, especially in the filter and drainage system. It’s not dramatic at first, but after six months, you’ve got a smelly, slow-draining mess.
Monthly cleaning cycles: yes, they matter. You might not feel like doing it, but set a reminder. Running a hot cycle with vinegar and baking soda clears out soap scum, bacteria, and any leftover gunk that detergent alone doesn’t handle. Do it once a month, and your machine stays fresh and efficient.
Also, stop overloading your washer. It seems efficient, sure, but it’s doing more harm than good. Overstuffing strains the motor, warps the drum over time, and leaves detergent and fabric softener stuck in awkward corners. Your laundry ends up not-so-clean, and your machine feels the stress.
If You Move the Machine
Moving a washing machine isn’t like scooting a chair; there’s real risk if you’re not careful. Follow these steps to ensure a safe and smooth transition.
Prepare Before Moving
Unplug the machine from the power source.
Shut off the water supply to prevent leaks or spills.
Watch the hoses as you move the unit
- Avoid crimping or bending them.
- Damaged hoses can result in slow leaks or even bursts under pressure.
Position It Properly
Make sure the washer is level.
- A tilted machine leads to industrial-level rumbling and accelerated wear.
Don’t push it flush against the wall.
- Leave a few inches of space for:
- Proper airflow (helps prevent moisture build-up)
- Hose clearance (avoids kinks and stress)
After You’ve Moved It
Run a test cycle.
- Listen for unusual rattling or vibrations.
- If it wobbles, reposition and relevel it.
Wrap-Up
If you take one thing away from all this, don’t wait until your washer stinks to take care of it. Regular maintenance isn’t complicated and doesn’t take long; it just needs to become a habit. A deep clean once a month, a few quick wipe-downs here and there, and being mindful of how you use it (detergent, loads, leaving the door open) can be the difference between a machine that lasts a decade and one that quits halfway through.
Think of it like brushing your teeth. Skip it once or twice? Not a big deal. Ignore it for a year? Welcome to cavities. Take ten minutes now, save hundreds later.

LET’S CONNECT
(250) 900-1164
service@kelownaappliancesrepair.ca
OPEN HOURS
Mon-Fri: 8AM-6PM
Saturday: 10AM-6PM
Sunday: 10AM-6PM
QUICK LINKS:
LET’S CONNECT
(250) 900-1164
service@kelownaappliancesrepair.ca
OPEN HOURS
Mon-Fri: 8AM-6PM
Saturday: 10AM-6PM
Sunday: 10AM-6PM
QUICK LINKS:
© 2025 Kelowna Appliances Repair All Rights Reserved | Privacy Policy | Sitemap